
Cheilectomy
A cheilectomy is a joint-preserving surgical procedure performed to remove bony spurs (osteophytes) from the top of the main big toe joint, relieving painful impinging pressure and restoring joint flexibility caused by big toe arthritis (hallux rigidus).
Cheilectomy overview
The joint at the base of the big toe (the first metatarsophalangeal, or MTP joint) bears significant weight during walking. When osteoarthritis affects this joint, a condition known as hallux rigidus, the protective cartilage wears down. In response, the body forms extra bone growth, or bone spurs, on the top surface of the joint. These bone spurs cause the top of the joint to bump together when bending the toe upwards. This leads to stiffness, painful impingement when walking or wearing fitted shoes, and localized inflammation. A cheilectomy "tidies up" the MTP joint by shaving away the excessive bone spurs (typically removing the top 25 to 30 per cent of the joint surface) along with any inflamed joint tissue. By clearing this bony blockage, the procedure restores upward bending motion and provides significant pain relief without needing to fuse the joint.
Who is suitable for a cheilectomy?
Cheilectomy is ideal for patients with mild-to-moderate hallux rigidus where the joint cartilage remains partially healthy. It is recommended when conservative measures, such as stiff-soled shoes, custom orthotics, activity modification, or anti-inflammatory treatments—no longer manage symptoms effectively.
What does the procedure involve?
A cheilectomy is routinely performed as a day-case procedure, allowing you to return home on the same day.
Surgical technique
- Anaesthesia: The surgery is carried out under general anaesthetic, combined with an ankle nerve block (a local anaesthetic injection around the ankle) so that your foot is completely numb and pain-free when you wake up.
- Surgical approach: The foot and ankle surgeon creates a small incision over the top (or side) of the big toe joint. This can be performed using open micro-surgery or keyhole arthroscopic techniques.
- Resection (Decompression): The surgeon carefully identifies and resects the bony spurs on the top of the metatarsal head and cleans out any loose cartilage fragments or inflamed joint lining (synovium).
- Range-of-motion check & closure: The big toe is gently flexed to verify improved upward movement before the small incision is closed with sutures and dressed with a supportive bandage.
The surgery typically takes between 30 and 45 minutes.
What long-term outcome can I expect?
Cheilectomy is an exceptionally successful operation with a patient satisfaction rate of over 90 per cent.
- Pain relief and mobility: Excellent pain relief and improved joint flexibility once initial wound healing is complete, allowing a gradual return to normal everyday activities within 6 to 12 weeks.
- Durability: The vast majority of patients enjoy relief for many years. However, because underlying joint arthritis remains, some stiffness or wear-and-tear progression may naturally occur over time depending on the initial severity of your condition.
- Post-operative swelling: Mild, localised swelling around the big toe joint is normal and can persist intermittently for up to 6 to 12 months after surgery, especially after prolonged standing.
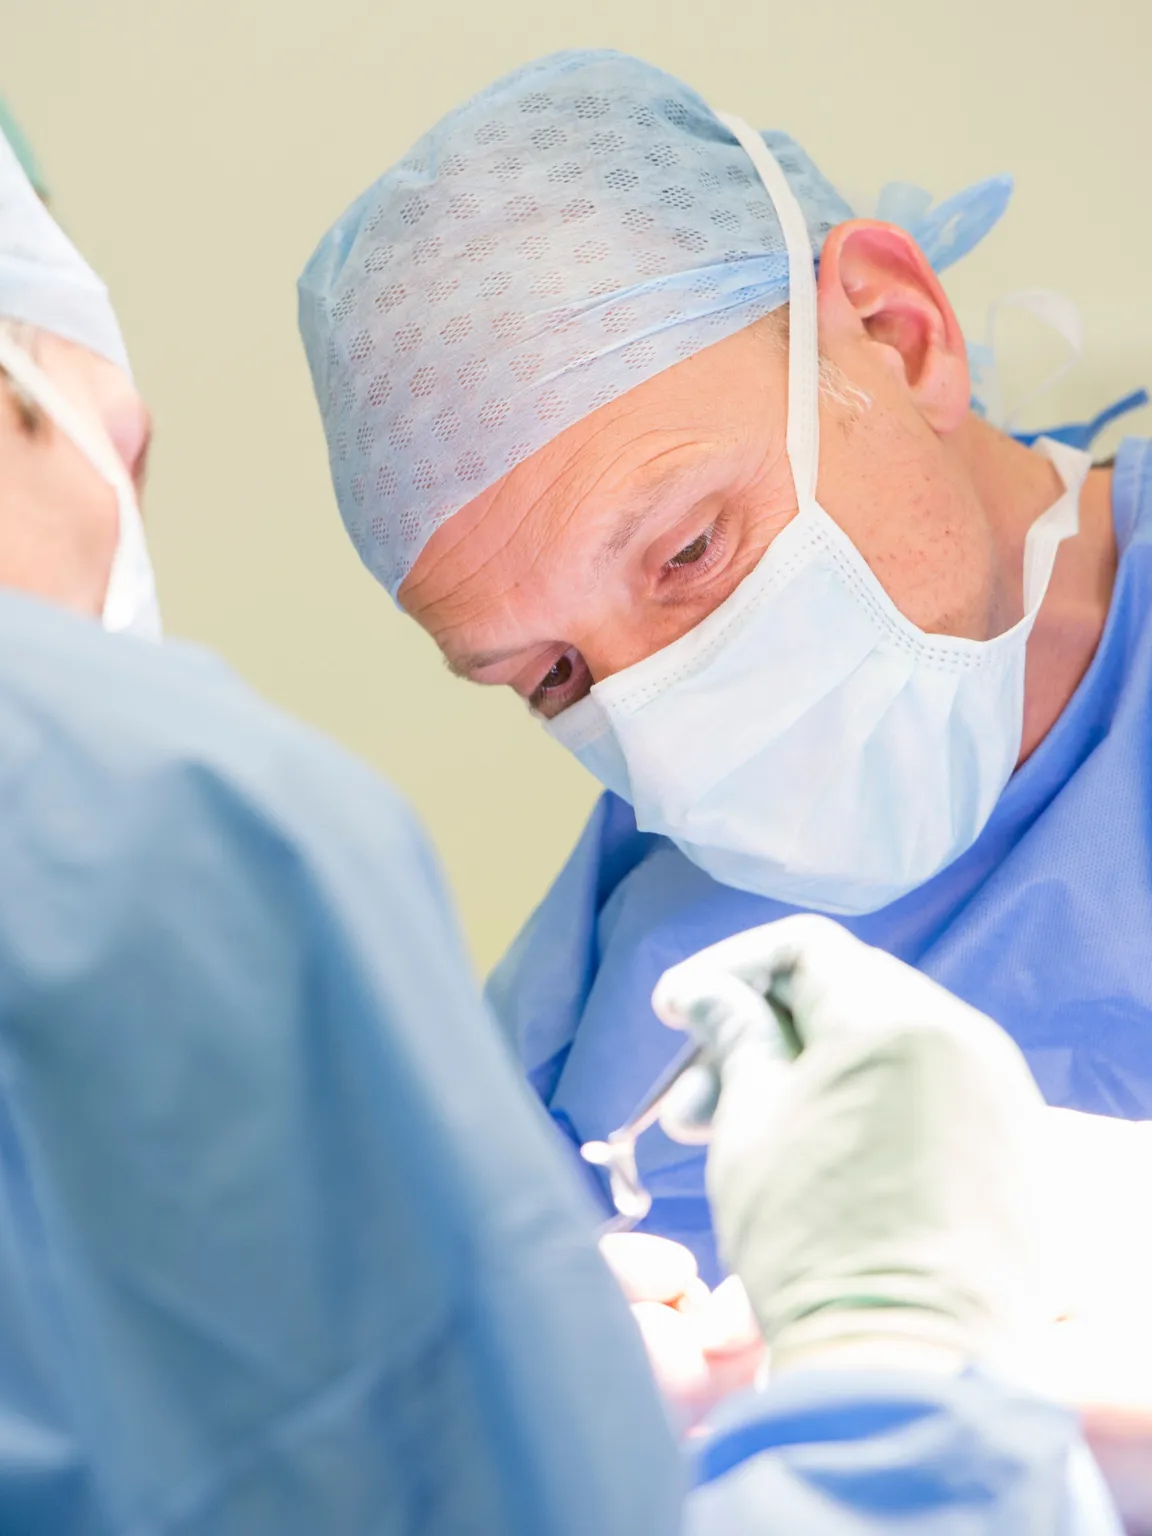
Recovery and post-operative timeline after Cheilectomy
Immediate post-surgery
Your foot will be bandaged, numb, and pain-free. Before discharge, a physiotherapist will fit you with a padded stiff-soled post-operative shoe, instruct you on mobility, and provide painkillers and an anti-inflammatory plan.
First 2 weeks & home rest
Elevate your foot above heart level as much as possible to keep swelling down. Move around only for essential needs (such as using the bathroom). You can bear full weight in your hospital shoe, but resting is key. After 1 week, begin moving your toe up and down for 5 minutes, 4 times daily (as advised by your team).
First follow-up review
Your dressings and sutures are checked. Once the wound is dry and healed, you can begin showering without a waterproof cover. You will gradually transition from the hospital shoe into your own wide, supportive footwear over weeks 2 to 6.
Second follow-up review
Your consultant evaluates joint movement, gait pattern, and surgical healing. You can transition back into your standard shoes and increase daily walking distances.
Final discharge
A final progress review is conducted to assess range of motion, muscle strength, and your return to physical recreation and sport.
Working with foot and ankle professionals and teams
Our foot and ankle specialists support professional athletes, sports teams, active individuals and people whose work places high demands on their feet and ankles. Working closely with radiologists, physiotherapists and the wider multidisciplinary team, they provide coordinated care from diagnosis through to rehabilitation, helping each person return safely to sport, work or everyday activities.
The same specialist expertise and collaborative approach are available to every patient, whatever your activity level or recovery goals.

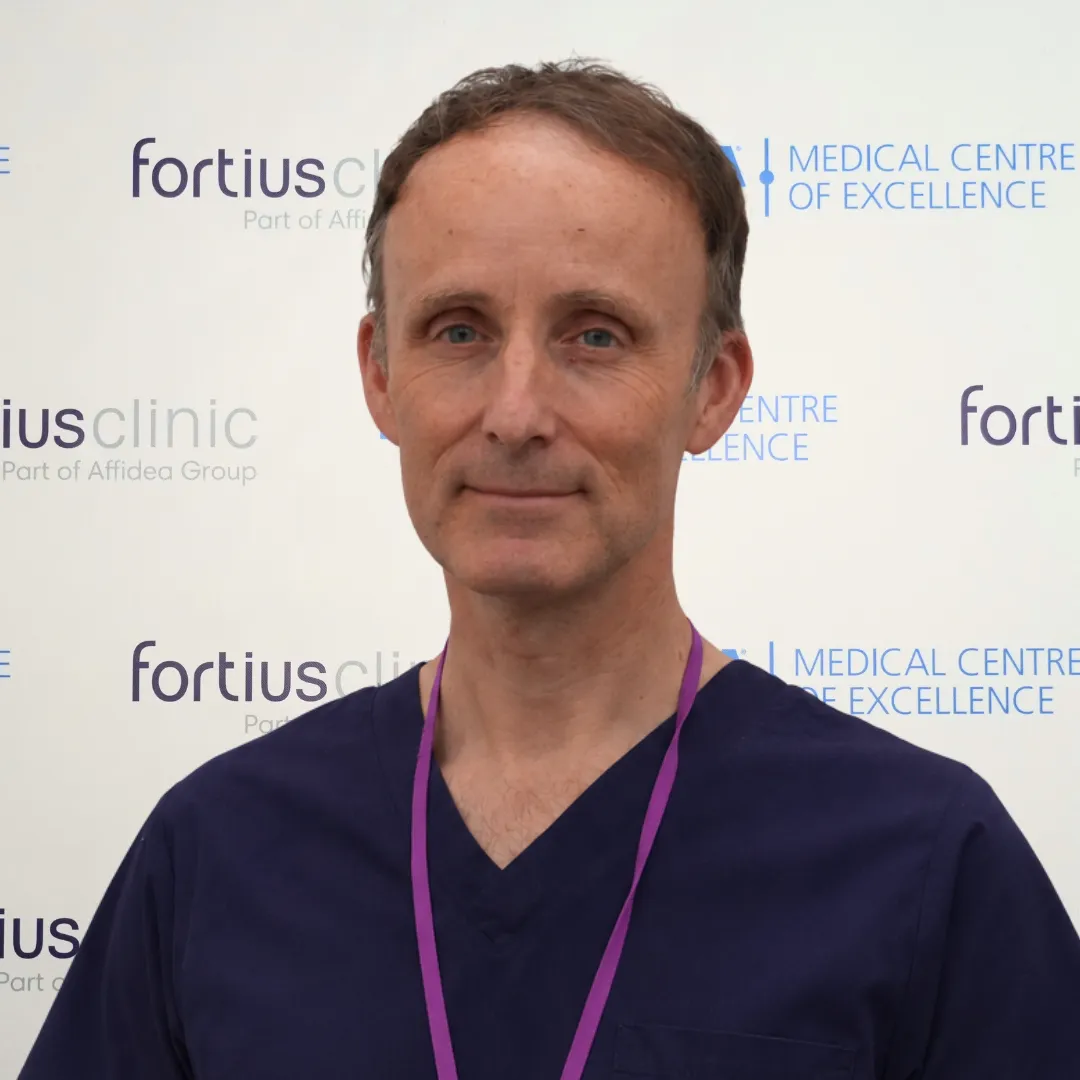
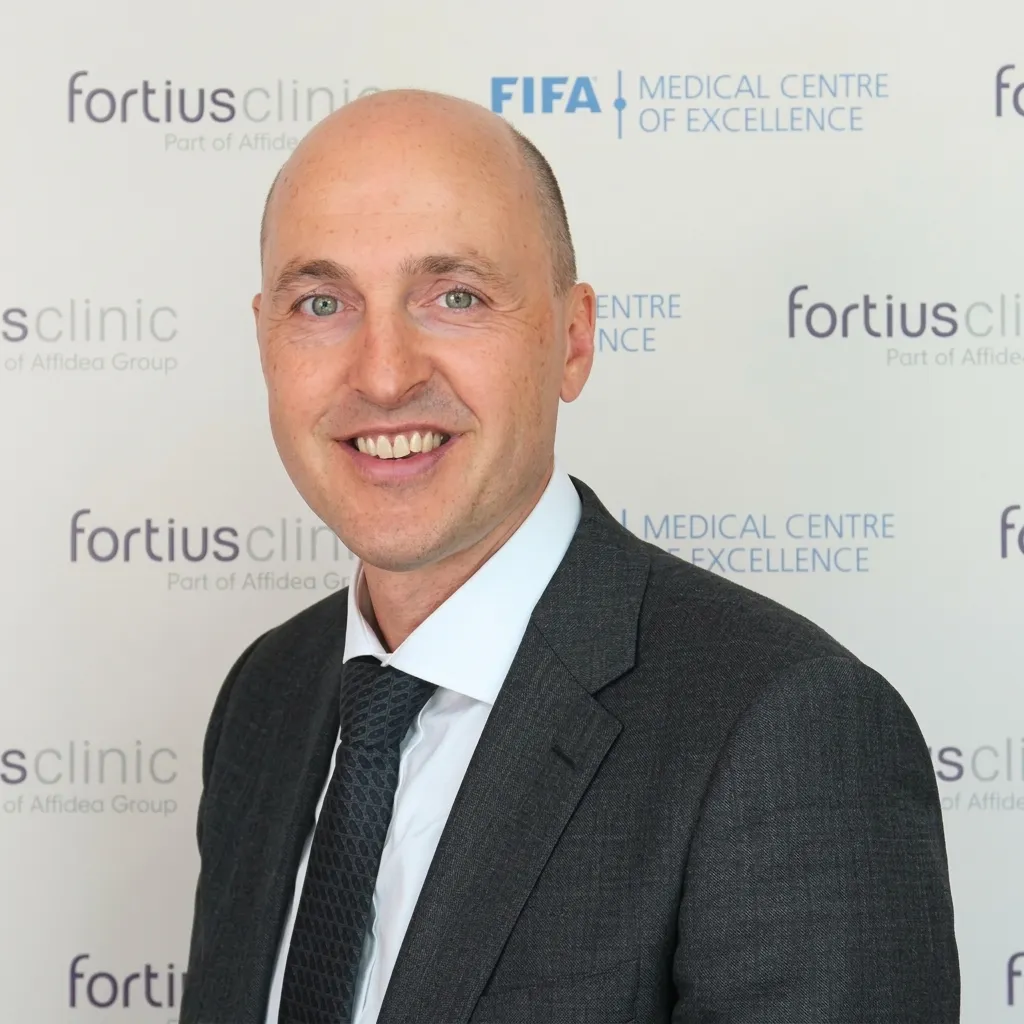
Our Experts - Leaders in Foot and Ankle treatment


How to pay
We offer flexible options depending on how you choose to access care at Fortius. Whichever option you choose, we’ll help make the process clear and straightforward from the start.
Private medical insurance
If your care is covered by private medical insurance, we’ll usually invoice your insurer directly. Please check your policy in advance and request an authorisation code if your insurer requires one. You’ll be responsible for paying any policy excess or costs that aren’t covered by your insurance.

Paying for yourself
You don’t need private medical insurance to access care at Fortius. If you’re paying for your own treatment, our team will explain the costs clearly and provide a personalised quote before you decide whether to go ahead.
Cheilectomy FAQs
Cheilectomy is a safe and routinely performed day-case procedure. Potential risks include:
- Infection: The chance of localized wound infection is low (around 1%) and is effectively managed with a short course of oral antibiotics.
- Nerve irritation/damage: Small nerve branches supplying feeling to the skin near the top of the toe can be bruised or stretched (risk around 5%). This may cause temporary numbness or tingling, which usually recovers over time.
- Recurrent stiffness or arthritis progression: While the procedure removes obstructing bone spurs, it does not cure underlying cartilage wear. In some cases, arthritis may progress years later, occasionally requiring further intervention (such as joint fusion).
- Deep Vein Thrombosis (DVT): Blood clots in the leg veins are rare (less than 3%). Movement of the ankle, early weight-bearing, and prescribed exercises keep this risk very low.
- Walking and footwear: You can fully bear weight immediately in the supplied stiff hospital shoe for the first 0 to 2 weeks. Between 2 to 6 weeks, you can transition into your own comfortable, wide-fitting shoes, moving into normal footwear fully after 6 weeks.
- Returning to work: If your job is desk-based or sedentary, you can usually return within 2 weeks. If your occupation involves manual labor, active standing, or safety footwear, you may require up to 6 weeks off.
- Driving: Under DVLA guidelines, you must be in full control of your vehicle and able to execute an emergency stop without hesitation or pain. This typically takes at least 3 to 4 weeks post-procedure. Always confirm with your specialist and vehicle insurer before driving again.
- Sport and exercise: Low-impact activities (such as stationary cycling and gentle swimming once the wound has healed) can start at 4 to 6 weeks. Higher-impact running, court sports, and athletic training are typically resumed between 6 to 12 weeks.
- First 2 weeks: Keep your bandaging and dressing completely clean and dry. You may shower using a protective waterproof foot cover.
- After 2 weeks: Once sutures or dressings are removed and your consultant confirms the wound has healed, you can shower normally. Gently dab the incision dry with a clean towel, do not rub or pull at scabs; allow them to fall away naturally.
- Infection monitoring: Contact Fortius Clinic immediately if you notice spreading redness, increasing heat, throbbing pain, or unusual discharge around the incision.
Find a clinic near you
Fortius Clinic Marylebone
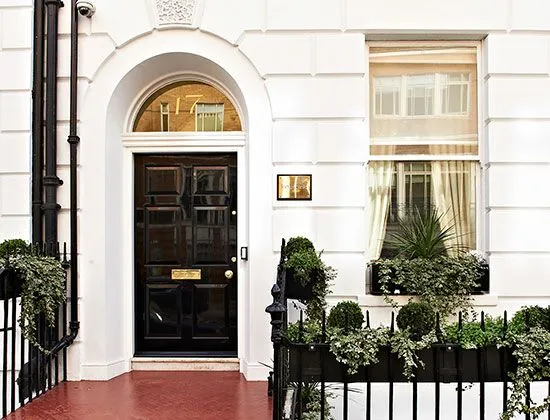
Our Marylebone Clinic is conveniently located in the historic area between Baker Street and Marylebone High Street, just off Manchester Square, home to the iconic Wallace Collection. We have seven consulting rooms, private waiting areas on each floor, well equipped treatment rooms and diagnostic imaging.
- 17 Fitzhardinge StreetW1H 6EQ
- 020 3195 2442
- Outpatient times are Monday to Friday from 8.00am to 8.00pm.
- MRI Scan
- Ultrasound
- X-Ray
- Physician services
- Rheumatology
Fortius Clinic City
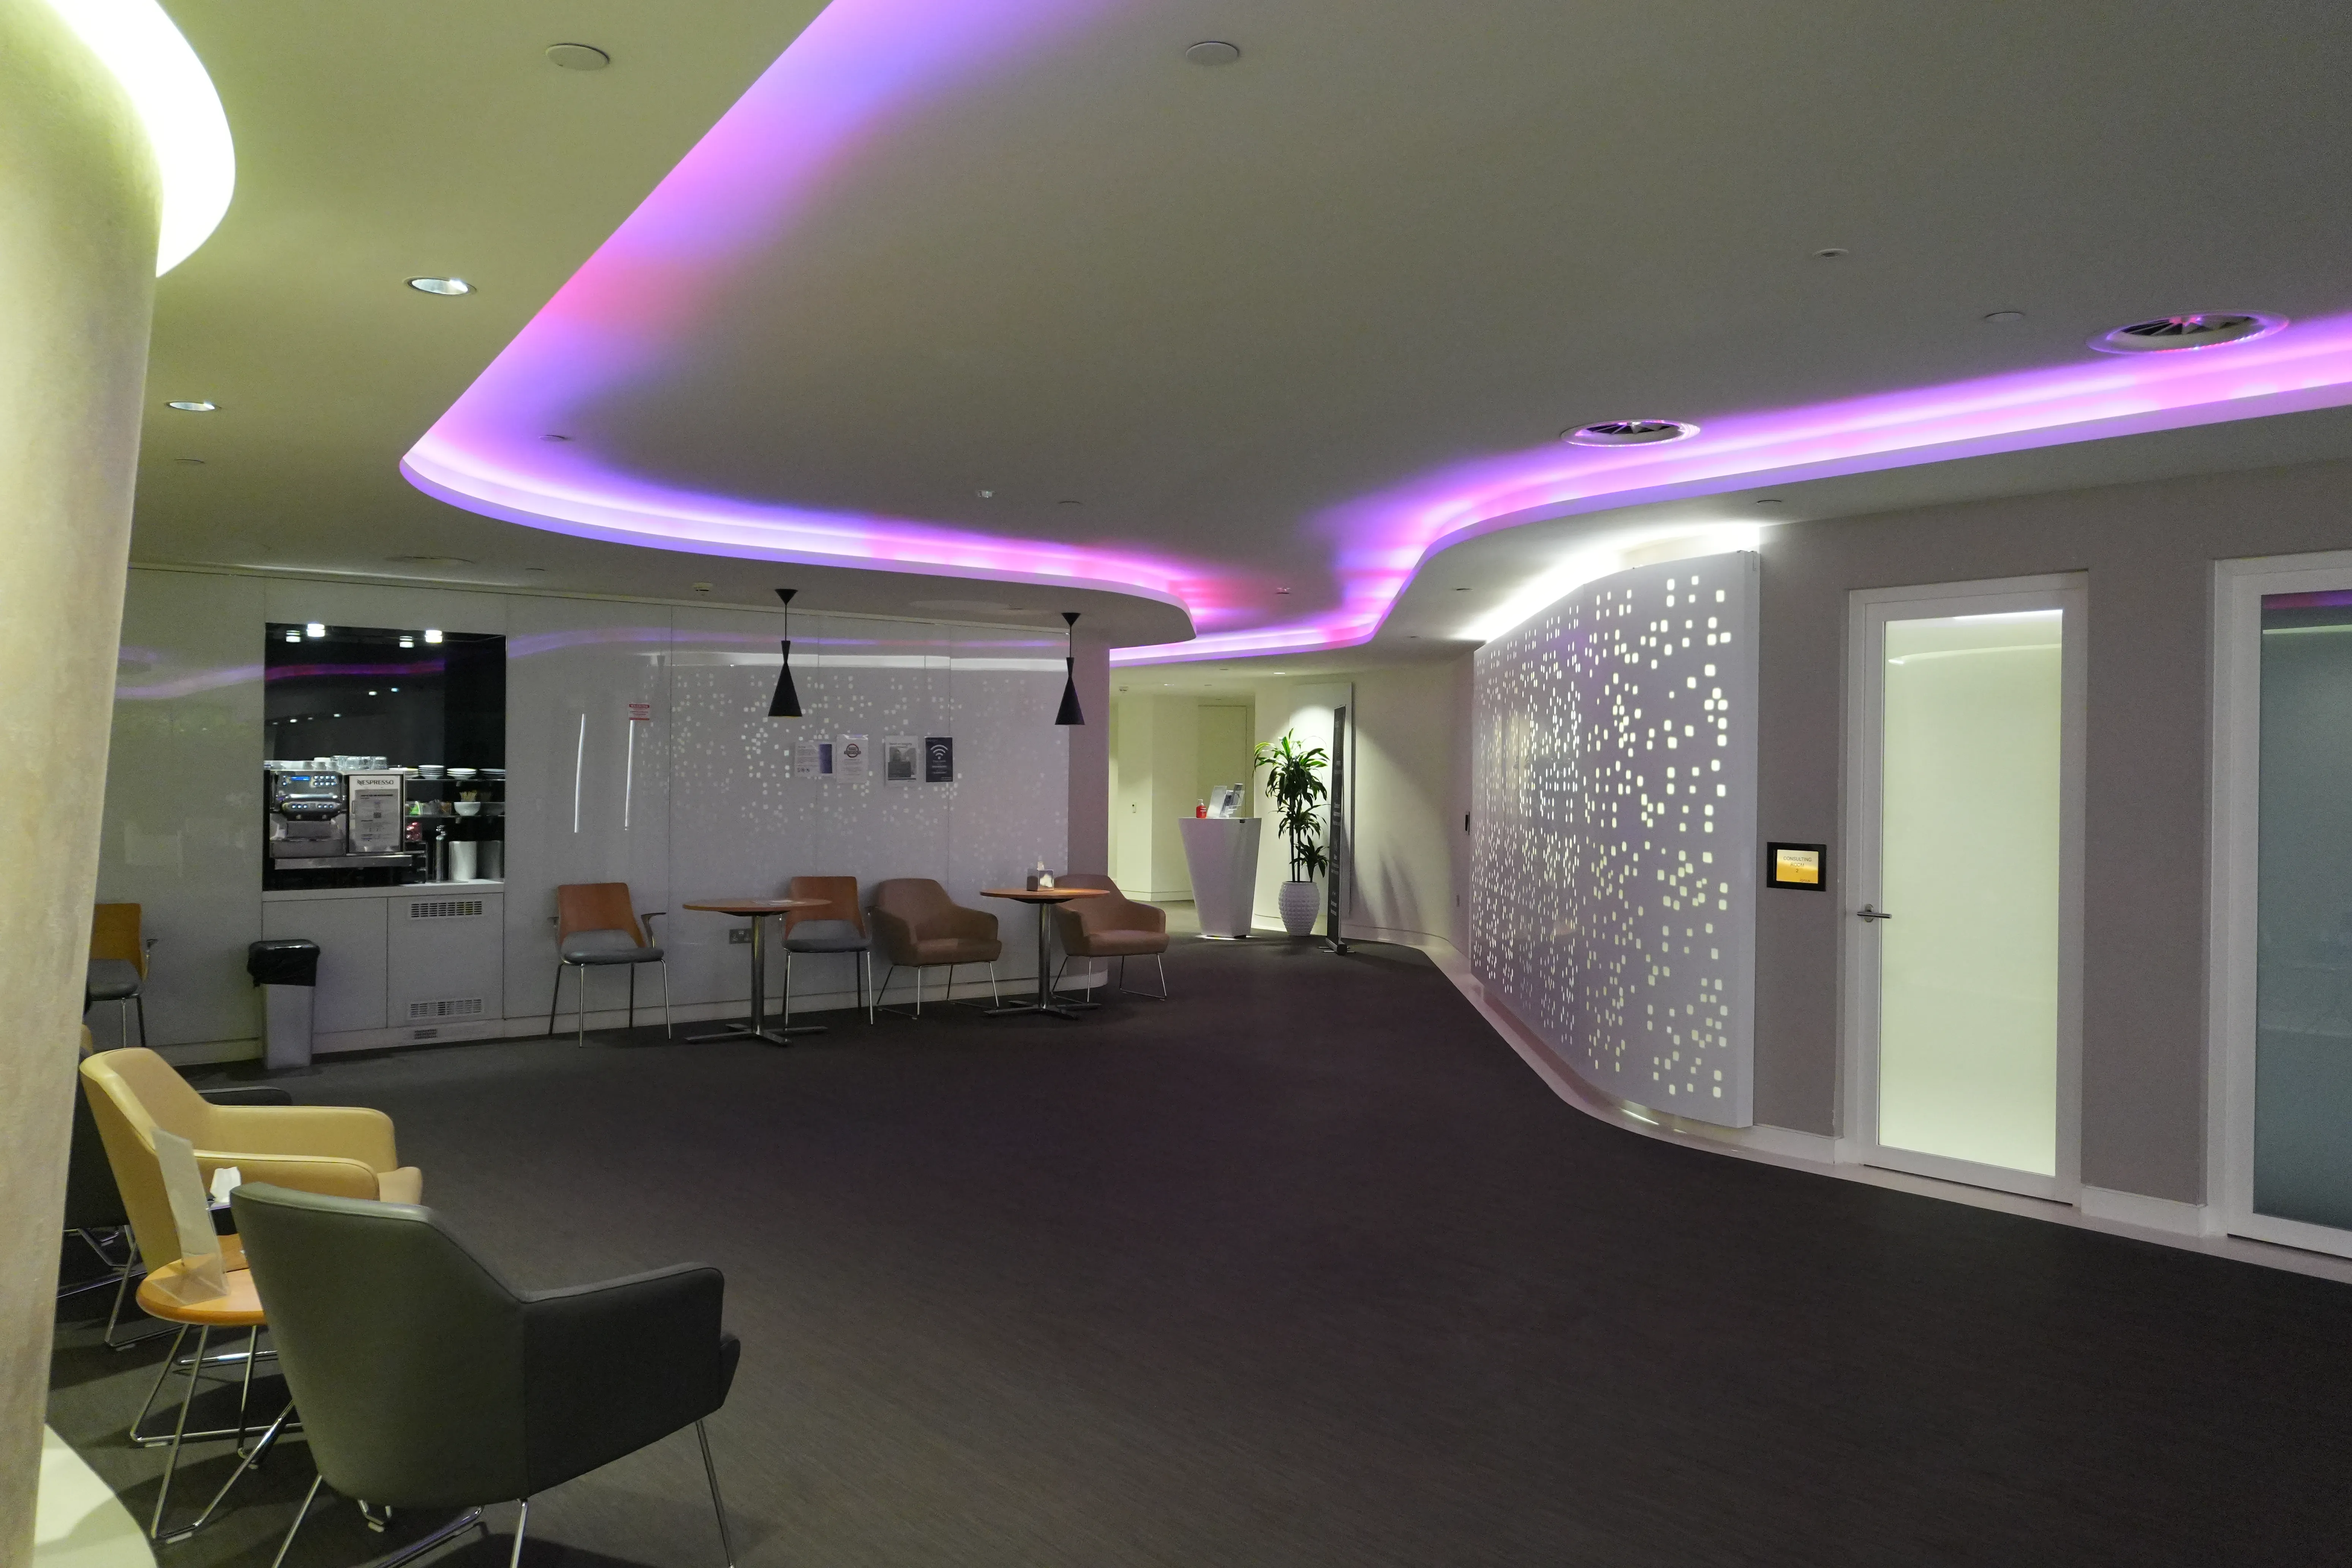
Our City Clinic is conveniently located between Bank and Monument stations, within the historic and financial heart of London. At our modern, two-floor facility we have nine consulting rooms, spacious waiting areas, well equipped treatment rooms and an imaging centre.
Explore our City Clinic with our virtual tour.
If you are travelling by Tube, our closest underground stations are Bank and Monument, exit 6 for King William Street.
Should you be travelling by car, the closest parking is a three minute drive away at NCP Car Park London Vintry Thames Exchange. If you are attending clinic on a weekday, please be aware that we are based in the congestion charge zone.
- 75 King William Street EC4N 7BE
- 0203 195 2442
- Outpatient times are Monday to Friday from 8.00am to 8.00pm.
- Snow Injuries Clinic
- Tendon Clinic
- Sports & Exercise Medicine
- MRI Scan
- Ultrasound
- X-Ray
- Physician services
- Rheumatology
Fortius Clinic London

Our 79,000 sq ft, seven-story, private hospital on Wigmore Street has 39 en-suite inpatient rooms, consultation and treatment rooms, and a physiotherapy suite.
The hospital has a high-spec imaging suite fully equipped with an MRI, CT scanner and X-ray machine. There are three state-of-the-art operating theatres, two anaesthetic rooms and a recovery bay.
Fortius Clinic London has two Mako robots for hip and knee joint replacements.
- 66 Wigmore Street W1U 2SB
- 0203 195 2442
- Outpatient times are Monday to Friday from 8.00am to 8.00pm.
- Sports & Exercise Medicine
- Snow Injuries Clinic
- Tendon Clinic
- MRI Scan
- Ultrasound
- X-Ray
- Physician services
- Rheumatology
- CT Scan
- Image guided injections
- Physiotherapy
- MAKO Robotic Joint Replacement
- Knee replacement revision clinic
Fortius Clinic Wimbledon
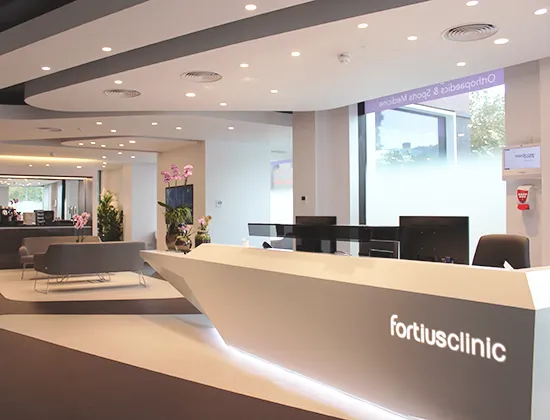
Our Wimbledon clinic houses a state-of-the-art imaging centre with a 3T MRI and X-ray scanners, Ultrasound, seven consulting rooms, two spacious waiting areas and well equipped treatment rooms all located on one level, ensuring easy accessibility for all patients.
Our partnership with Spire St Anthony’s Hospital allows us to provide orthopaedic surgery closer to our clinic. We treat a full range of conditions and perform joint replacement surgery using the latest Mako robotic assisted technology.
The building at 22 Worple Road has steps leading up to the front entrance. If you require assistance please inform us before your arrival by calling ahead on 020 3195 2442
- 22 Worple Road SW19 4DD
- 0203 195 2442
- Outpatient times are Monday to Friday from 8.00am to 8.00pm.
- Snow Injuries Clinic
- MRI Scan
- Ultrasound
- X-Ray
1 of 4